Reverse Chain Stitch - A Fresh Perspective
Sometimes, you come across a technique that just flips your perspective on how things are done, rather like discovering a new way to find out who called you, or perhaps seeing how fans can move air in a surprising direction. There is a charm, you know, in turning things around a bit to get a different, often better, outcome. This thought, this idea of going against the usual grain, really applies to a fascinating stitch that many people enjoy working with: the reverse chain stitch. It is, in a way, a little twist on something familiar, giving it a fresh look and feel.
This particular stitch, the reverse chain stitch, brings a lovely texture and a distinct line to any fabric piece, actually. It is a bit like having a secret trick up your sleeve for making your work truly stand out. People often find it quite satisfying to create, seeing the neat little loops form as they go. It offers a look that is both traditional and, in some respects, quite unique, making it a favorite for outlining designs or adding a touch of something special to a plain surface.
We are going to take a closer look at what makes this stitch so special, how you can go about making it yourself, and why you might want to consider using it for your next creative venture. We will also touch upon some common questions people have and share a few pointers to help you along. So, get ready to explore a stitch that really does turn things around for the better.
- Forte Flowers
- Chilis Create A Pepper
- Lee Horsley Django
- Simplydiy
- Carolyn Bessette Kennedy Wedding Pictures
Table of Contents
- What exactly is a reverse chain stitch?
- How does the reverse chain stitch differ from its regular counterpart?
- Why might you choose the reverse chain stitch for your project?
- Getting started with your reverse chain stitch
- Are there common mistakes to avoid when making a reverse chain stitch?
- Can the reverse chain stitch be used in different ways?
- A little more on the idea of 'reverse'
- Keeping your reverse chain stitch looking its best
What exactly is a reverse chain stitch?
The reverse chain stitch is a hand embroidery technique that forms a series of connected loops, giving the appearance of a small, decorative chain. It is, quite literally, a stitch that builds upon itself, with each new loop emerging from the previous one. Unlike its more common sibling, this particular version is often worked by going backward into the fabric, which creates a very neat and consistent line on the front side of your work. This method, you know, tends to make the stitch sit a little flatter and often appear a bit more uniform.
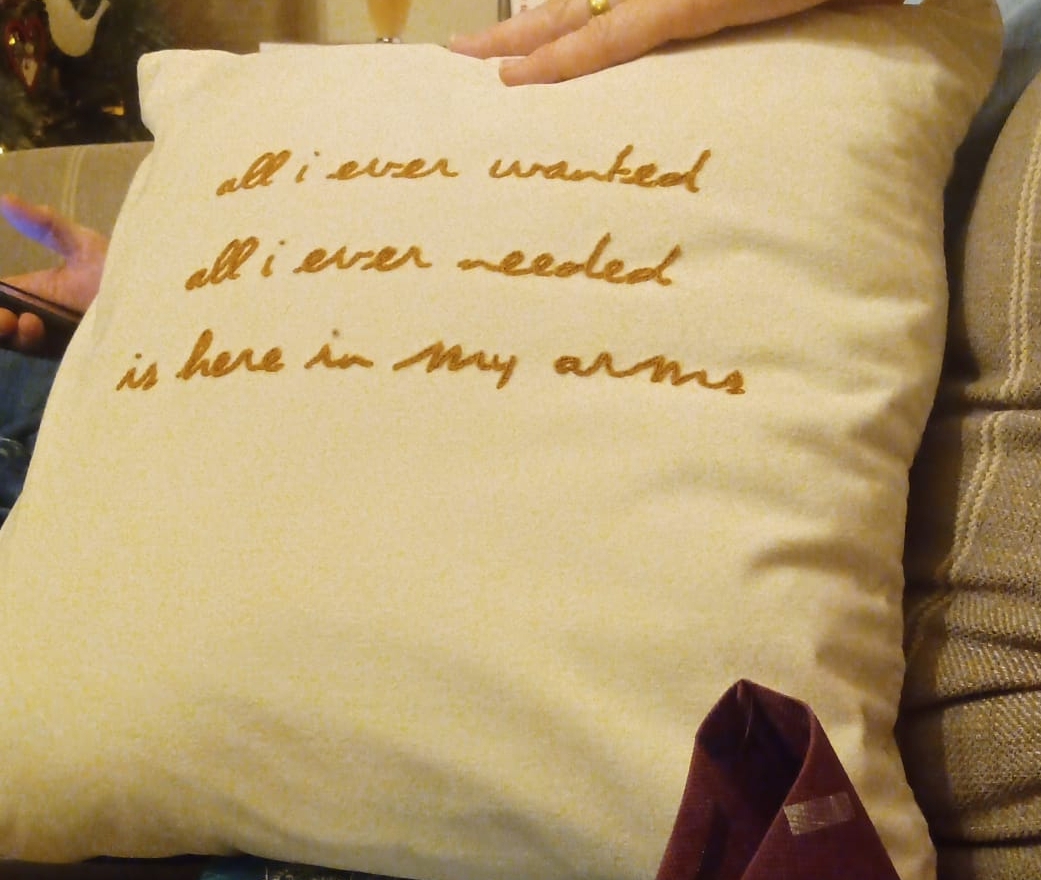
When you look at a line of reverse chain stitch, you will notice a lovely, raised texture, a bit like tiny, delicate braids. This texture makes it quite popular for outlining shapes, filling in small areas with a pleasing dimension, or simply adding a decorative border to a piece of cloth. It is a stitch that, in some respects, offers both visual appeal and a certain tactile quality, making it a good choice for items that might be touched often, like decorative cushions or clothing details.
The name itself, "reverse chain stitch," tells you a good deal about how it is made. You are essentially forming the chain by working in a direction that feels a little different from what you might expect if you were doing a regular chain stitch. This slight change in approach is what gives it its unique character and clean finish, truly making it a worthwhile addition to your stitching abilities.
How does the reverse chain stitch differ from its regular counterpart?
The main difference between a standard chain stitch and the reverse chain stitch lies in the direction of work and how each loop is formed. With a regular chain stitch, you usually bring your needle up, form a loop, and then re-insert your needle just next to where it came out, pulling through to secure the loop. It is a straightforward, forward-moving motion, basically.
However, with the reverse chain stitch, you begin by making a small, straight stitch, and then you bring your needle up a short distance away. Then, instead of going back into the fabric at the previous point, you actually insert your needle *into* the loop of the very first stitch you made, and then back down into the fabric at the desired length for your next loop. This method, you see, means you are always going back to connect to the previous loop, giving it that "reverse" feel. This process helps to keep the loops very even and tight, which is why many people prefer the look of the reverse chain stitch for certain applications.
The result is a line of connected stitches that looks incredibly neat and well-defined, almost like a string of small, perfectly shaped beads. This method of construction, in a way, gives the reverse chain stitch a more finished appearance on the front, with less bulk on the back, making it a good option for projects where a clean finish is quite important, like on clothing or items that will be seen from both sides.
Why might you choose the reverse chain stitch for your project?
There are several good reasons why someone might pick the reverse chain stitch for their embroidery efforts. For one thing, it produces a very clean and consistent line. If you are outlining a design, say, a flower petal or a letter, this stitch will give you a crisp edge that really makes the shape stand out. It is a bit like drawing a very clear boundary around your picture, making everything look quite defined.
Another reason is its texture. The raised loops of the reverse chain stitch add a lovely dimension to flat fabric. This can be particularly appealing if you want to add a bit of tactile interest to your work, or if you are trying to create a design that feels a little more substantial. It is a stitch that, in some respects, invites you to reach out and feel it, which is a nice touch for handmade items.
Also, it is quite versatile. While it is excellent for outlines, you can also use the reverse chain stitch for filling in areas, creating a dense, textured surface. Or, you might use it as a decorative element all on its own, perhaps as a border along the edge of a tablecloth or a pillowcase. It is a stitch that, you know, really gives you a lot of room to play around with different creative ideas, making it a pretty useful addition to any stitcher's collection.
Getting started with your reverse chain stitch
To begin making a reverse chain stitch, you will need a few basic supplies. First, pick out the fabric you want to work on; something with a medium weight often works best for learning. Then, choose your thread. Embroidery floss is a common choice, and you can use different numbers of strands depending on how thick you want your chain to appear. A needle with an eye big enough for your chosen thread is also pretty important, of course.
It is often a good idea to start with a knot at the end of your thread, or you might use a waste knot if you prefer a cleaner back to your work. Bring your needle up from the back of the fabric to the front at your starting point. Then, make a very small, straight stitch, perhaps just a millimeter or two long. This tiny stitch will anchor your first loop, so it is quite important to get it just right.
Next, bring your needle up from the back of the fabric again, a short distance away from the end of that first small stitch. Now, here is where the "reverse" part comes in: take your needle and slip it *under* the first small stitch you made, making sure not to pierce the fabric itself. Then, push your needle back down into the fabric at the point where you want your first loop to end, forming a neat loop on the surface. Pull your thread through gently, and you will see your first link of the reverse chain stitch appear. It is a bit like creating a series of tiny, interlocking rings, you know, and each one builds on the last, which is rather satisfying.
Are there common mistakes to avoid when making a reverse chain stitch?
When learning any new stitch, it is perfectly normal to run into a few little hiccups, and the reverse chain stitch is no different. One common thing people do is pull their thread too tightly. If you yank the thread too much, your loops will look squashed and uneven, rather than plump and distinct. It is better to use a gentle, consistent tension, allowing the loops to form naturally without being stretched thin. Think of it as letting the thread relax into its shape, basically.
Another thing that can happen is not making your initial small stitch or your subsequent loop lengths consistent. If some loops are long and others are short, your chain will look wobbly and a bit messy. Try to keep each segment of your reverse chain stitch roughly the same length. You might even draw a light line on your fabric as a guide, or make small marks to help you keep your spacing even. This helps a lot with getting a clean, uniform line, you know.
Also, sometimes people accidentally pierce the thread of the previous loop when bringing their needle back down. This can snag the thread and make the stitch look uneven or even break the thread. Make sure your needle goes cleanly *under* the previous stitch or through the fabric, not through the thread itself. Taking your time and watching where your needle goes can really help avoid these little annoyances, making your reverse chain stitch look much better.
Can the reverse chain stitch be used in different ways?
Absolutely, the reverse chain stitch is surprisingly adaptable! While it is fantastic for creating clear outlines around shapes, its uses go quite a bit further. You can use it to fill in areas, for instance. By working rows of reverse chain stitch close together, you can create a dense, textured surface that feels quite substantial. This is a good way to add a bit of raised design to a piece, perhaps for a flower petal or a cloud shape.
You can also vary the thickness of your reverse chain stitch by using different numbers of thread strands. A single strand will give you a very fine, delicate line, while multiple strands will create a bolder, more pronounced chain. This allows you to play with different effects and textures within the same piece of work, which is pretty neat. You might use a thin line for fine details and a thicker line for more prominent features, for example.
Furthermore, the reverse chain stitch can be worked in curves, circles, and even spirals, not just straight lines. Its construction allows it to follow contours very smoothly, making it a great choice for intricate designs. It is a stitch that, you know, really lets your imagination run a little wild, giving you plenty of room to explore creative possibilities beyond just simple borders.
A little more on the idea of 'reverse'
It is interesting how often the concept of "reverse" pops up in different parts of our lives, isn't it? Just like with the reverse chain stitch, where a slight change in direction gives you a distinct outcome, we see this idea in so many other places. Think about how you might, say, look up a phone number to find out who called you, going from the number back to the person. That is a kind of reverse action, a way of getting to the origin from the effect, which is quite useful, you know.
Or consider how some fans are made to blow air in a different direction, perhaps to pull air in rather than push it out. That is a reverse function that serves a specific purpose, just like how the reverse chain stitch creates a particular look. Even in games, sometimes the plot involves going back in time or seeing the world in a more primitive state, which is a big "reverse" in itself, offering a different perspective on things. It is about understanding something by looking at it from an unexpected angle, you see.
The beauty of "reverse" approaches, whether it is in stitching, looking up information, or even how a machine works, is that they often provide a fresh solution or a unique aesthetic. They challenge the usual way of doing things, opening up new possibilities. So, when you are working on your reverse chain stitch, you are actually engaging with a broader principle of innovation and different viewpoints, which is pretty cool, honestly.
Keeping your reverse chain stitch looking its best
Once you have finished your beautiful reverse chain stitch work, you will want to make sure it stays looking good for a long time. The way you care for your embroidered piece can make a real difference. For most hand embroidery, a gentle wash is usually the best approach. Avoid harsh scrubbing or using very strong detergents, as these can damage the delicate threads and the structure of your reverse chain stitch. A mild soap and cool water are often all you need, basically.
When drying your piece, it is a good idea to lay it flat on a clean towel. This helps to keep the stitches from getting distorted or stretched out. If you hang it up, the weight of the water can pull on the fabric and the threads, making your lovely reverse chain stitch look a bit saggy. Allowing it to air dry naturally is generally preferred over using a machine dryer, which can be too rough and might even shrink your fabric, you know.
If your piece needs ironing, always do it from the back side, with a pressing cloth over the embroidery. This protects the raised texture of your reverse chain stitch and keeps it from getting flattened. Using a moderate temperature setting on your iron is also quite important. Taking these few simple steps will help ensure that your reverse chain stitch remains a beautiful and cherished part of your handmade items for many years to come.
This article has explored the charming reverse chain stitch, from its unique formation and how it differs from a regular chain stitch, to the many reasons one might choose to use it in creative projects. We covered the initial steps for getting started, discussed common pitfalls to avoid for a neat finish, and looked at the stitch's versatility in various applications. Finally, we touched upon the broader concept of 'reverse' in different contexts and provided tips for keeping your reverse chain stitch creations in top condition.
- Canadian Cancer Society Cervix
- Emerald Pub
- When Is Season 3 Of The Old Man
- Torch Lake Beer Co
- Dirt Juicery Green Bay
How to do Reverse Chain Stitch - Sarah's Hand Embroidery

Reverse chain stitch: seamless squares and circles - Stitch Floral

Baroque Embellishments: Reverse Chain Stitch Instructions
