Crafting Charming Paper Mache Vintage Pumpkins - A Guide
There is something truly special about the feeling that comes with autumn's arrival, that time of year when the air turns crisp and the light shifts to a softer glow. For many, this season sparks a deep desire to bring a bit of that cozy, old-fashioned charm into their homes. If you are someone who enjoys a touch of history and a handmade feel in your holiday decorations, you might find yourself drawn to the unique appeal of vintage Halloween items. They just have a certain character, don't they?
You see, collecting actual antique Halloween decorations, particularly those lovely old paper items, can get quite costly. They are, in a way, becoming increasingly hard to find, which naturally drives up their value. But what if you could capture that same charming, aged look without having to spend a fortune? What if you could create something that feels like it has a story, something that brings a smile and a sense of nostalgia, all with your own two hands? It's a rather satisfying thought, isn't it?
This is where the magic of crafting your own paper mache vintage pumpkins comes in. It is a creative pursuit that allows you to bring that classic, folk-art feel right into your living space. We will walk through how to give ordinary items a truly special, time-worn appearance, transforming them into something quite delightful for your fall celebrations. So, let's explore how to make these wonderful pieces, giving them that distinct, aged charm.
Table of Contents
- The Allure of Old-School Halloween Decor
- Why Make Paper Mache Vintage Pumpkins?
- Getting Started - What You'll Need for Your Paper Mache Vintage Pumpkins
- How Do You Craft Your Own Paper Mache Vintage Pumpkins?
- Adding That Special Vintage Touch to Your Paper Mache Pumpkins
- What Can You Do with Finished Paper Mache Vintage Pumpkins?
- Caring for Your Handmade Paper Mache Vintage Pumpkins
- Are There Different Styles of Paper Mache Vintage Pumpkins to Try?
The Allure of Old-School Halloween Decor
There is a certain warmth that comes from decorations that appear to have a history, perhaps passed down through generations. Think of the simple, handcrafted items from a bygone era; they often possess a unique spirit that mass-produced goods just cannot quite capture. For many, the appeal of vintage Halloween pieces lies in their connection to a simpler time, a period when holiday decorations were often made at home, with care and imagination. These items carry a sense of whimsy and a bit of playful spookiness, which is, you know, rather charming.
The original paper mache pumpkins from the early 20th century, for instance, were often quite unique, each one showing the hand of its maker. They had faces that were sometimes sweet, sometimes a little bit scary, but always full of personality. These are the kinds of pieces that spark conversation and bring a smile to your face. They are, in some respects, small works of art, capturing the spirit of a holiday that has always been about fun and a little bit of mystery. So, when we talk about making something "vintage," we are really talking about capturing that feeling, that sense of character and history.
Why Make Paper Mache Vintage Pumpkins?
You might wonder why someone would choose to spend time making their own decorations when there are so many options available in stores. Well, there are a few good reasons, actually. For one, as we mentioned, collecting the actual old pieces can become quite an expensive hobby. The cost of those rare, authentic items can really add up, making them less accessible for many people who still appreciate their look. Creating your own paper mache vintage pumpkins offers a way to enjoy that aesthetic without breaking the bank.
- Zoe Manville
- Tejas Motors Inventory Lubbock Tx
- Trish Smart
- Zeal Boutique Pascagoula Ms
- Whitetail Heaven Outfitters
Another reason is the sheer joy of the creative process itself. There is a deep satisfaction that comes from making something with your own hands, watching it take shape from humble materials. It is a chance to step away from screens and engage in a tactile activity, which, you know, can be very calming. Plus, when you make your own, you get to put your personal touch on it, making it truly one of a kind. You can make it as scary or as sweet as you like, fitting it perfectly to your own style and the feeling you want to create in your home. It is, in a way, a very personal expression.
Getting Started - What You'll Need for Your Paper Mache Vintage Pumpkins
To begin this creative adventure, you will need a few basic supplies. The beauty of paper mache is that it uses readily available and often inexpensive items. You might even have some of these things around your house already. For instance, we picked up a couple of dollar store pumpkins, one in black and another in that bright pumpkin orange, which, you know, are pretty easy to find. These serve as a good base for your project, giving you a ready-made shape to work with.
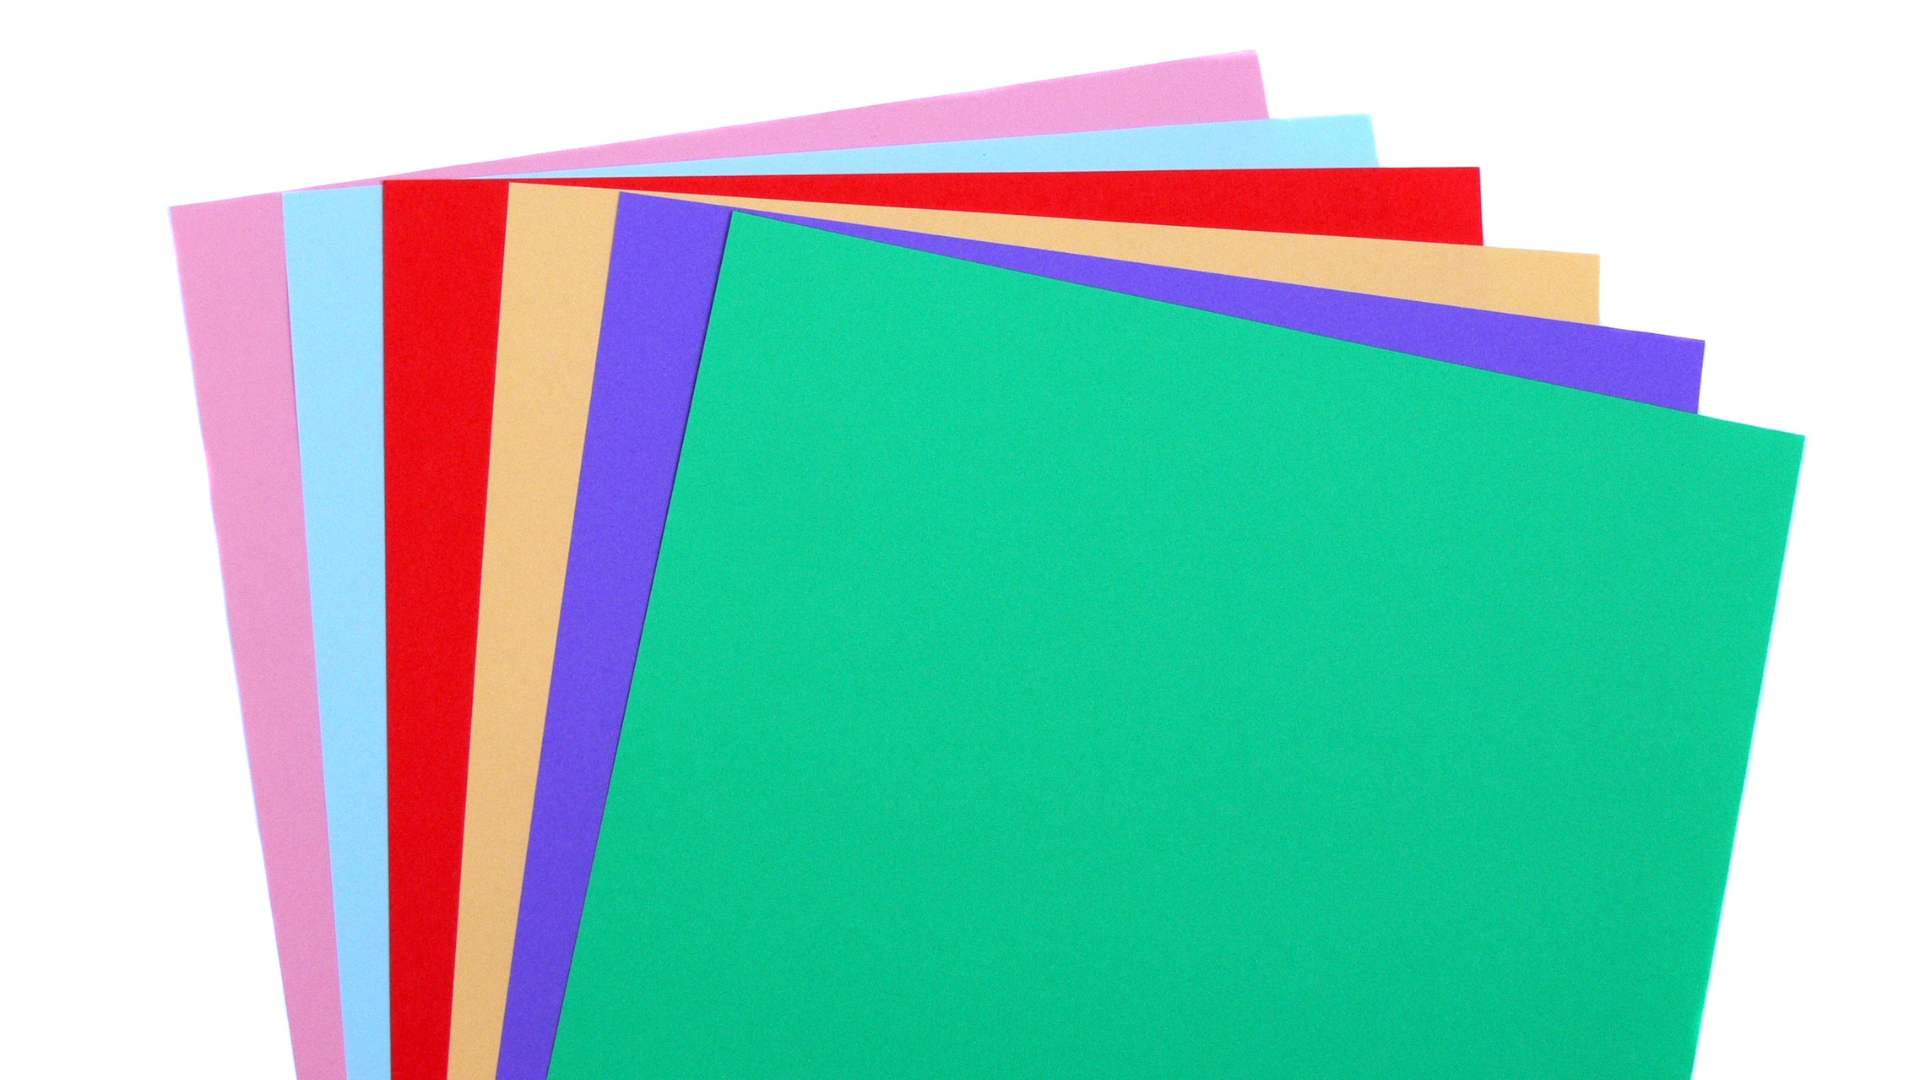
Beyond the base shape, you will need some paper. Old newspapers are perfect for this, as they are absorbent and tear easily. You will also need a paste. A simple flour-and-water mixture works wonderfully, though some people prefer a pre-made paper mache paste or even celluclay, which is a bright white pulp that can be quite convenient if you are making many pieces at once. A good set of brushes for applying paint and sealant will also be helpful, as will some paints in the colors you envision for your vintage look. Think muted oranges, deep blacks, and perhaps some browns for aging. You will also want some sort of sealant or varnish to protect your finished work and give it that lasting quality. And, of course, a workspace that you do not mind getting a little messy is pretty essential.
How Do You Craft Your Own Paper Mache Vintage Pumpkins?
The process of making paper mache vintage pumpkins involves several steps, and it does take a bit of time, mostly for drying between layers. So, if you are planning to have these ready for a special gathering, it is a good idea to start a few days beforehand. The basic idea involves layering strips of paper soaked in paste over your chosen form. You want to make sure each strip overlaps a bit, creating a strong, continuous surface. This builds up the strength and shape of your pumpkin.
After you have applied a few layers, you will need to let your paper mache pumpkin dry completely. This is a very important step, as rushing it can lead to mold or a less sturdy finish. Placing it in a warm spot can help speed up this drying process. Depending on the size of your base, this could take anywhere from a day to a few days. Once dry, you can add more layers if you want a stronger or smoother surface. This layering process is repeated until you achieve the desired thickness and rigidity for your pumpkin. It is a bit of a waiting game, but, you know, it is worth it for the final result.
Shaping Your Paper Mache Vintage Pumpkins - What Works Best?
When it comes to shaping your paper mache vintage pumpkins, you have a few options. As mentioned, using pre-made dollar store pumpkins is a simple way to get a good base shape. These can be covered directly. For a more traditional paper mache approach, you could use a balloon as your starting point. This gives you a nice round shape, which you can then modify once the paper mache is dry by adding more paper mache for stems or other features. You can even create more complex shapes by crumpling newspaper and taping it together to form a rough outline, then covering that with your paper mache layers.
For something like a "bobble head spider basket" or a "stacked 3 pumpkins" figure, you would build each component separately and then attach them once they are dry and firm. This allows for more intricate designs and figures. For instance, to make a "big scary pumpkin, complete with arms," you would form the main pumpkin body and then create separate arm shapes, attaching them securely with more paper mache strips once the main body is stable. The key is to build up the form gradually, allowing each section to set before adding more weight or detail. It is, in a way, like sculpting with paper, which is pretty cool.
Adding That Special Vintage Touch to Your Paper Mache Pumpkins
Once your paper mache pumpkin is completely dry and firm, it is time to bring out that vintage character. This is where the real fun begins, actually. You will start by painting your pumpkin with a base color. For a classic vintage look, consider a muted orange, a deep cream, or even a soft, aged yellow. After the base color dries, you can begin to add details that suggest age and wear. This might involve applying a darker wash of paint, perhaps a watered-down brown or black, to settle into crevices and give the appearance of grime or dirt from years past. You can then gently wipe some of this off, leaving just enough to create that aged effect.
To really make your paper mache vintage pumpkins look like they have been around for a while, you can add cracks or distressed areas. This can be done by carefully scratching the surface with a tool or by using crackle medium paints that create a naturally aged finish as they dry. For some, adding an "original paper face insert" as seen on old pieces can really seal the deal. You can print out or draw simple, classic jack o'lantern faces and glue them on, perhaps even tearing the edges a bit to make them look worn. The goal is to make it look like it has been loved and used for many Halloweens, which, you know, adds to its charm.
What Can You Do with Finished Paper Mache Vintage Pumpkins?
The possibilities for your finished paper mache vintage pumpkins are pretty wide open. They make truly excellent decorations for Halloween or Thanksgiving. You can arrange them on a mantelpiece, place them on a porch, or use them as a centerpiece for your fall table. They bring a cozy, festive feeling to any space. Imagine a cluster of these charming pumpkins, perhaps with a few candles nestled safely nearby, casting a warm glow on an autumn evening. It is, in a way, a very inviting scene.
Beyond simple display, these pumpkins can serve other purposes too. Some people turn them into unique jack o'lanterns by cutting out faces, though you would need to be careful with any light source inside, perhaps using battery-operated tea lights for safety. Others use them as a fun family activity, creating a papier mache pumpkin that doubles as a piñata for a party. You could even use them as part of a larger display, perhaps alongside other handmade fall elements. For instance, one person turned a dollar store neon orange bucket into a "little guy" with paper mache, showing how versatile the technique can be for creating all sorts of characters and decorations. They can really become a focal point, you know.
Caring for Your Handmade Paper Mache Vintage Pumpkins
Once you have put in the effort to create your beautiful paper mache vintage pumpkins, you will want to make sure they last. Because they are made of paper, they are somewhat delicate and need a bit of care. The most important thing is to keep them away from moisture. Water can cause the paper to warp, soften, or even grow mold, which, you know, would be a shame after all that work. So, display them indoors or in a very sheltered outdoor spot where they will not get wet from rain or dampness.
Dusting them gently with a soft cloth or a feather duster is usually enough to keep them clean. Avoid using any wet cleaners. If you have applied a good sealant or varnish, they will be a bit more protected, but it is still best to handle them with care. When storing them after the season, wrap them in tissue paper or soft fabric and place them in a sturdy box to protect them from being crushed or damaged. Keeping them in a dry, temperature-stable environment will help them maintain their shape and color for many years to come. It is, in some respects, like caring for any cherished handmade item.
Are There Different Styles of Paper Mache Vintage Pumpkins to Try?
Absolutely! The beauty of making your own paper mache vintage pumpkins is that you can explore a wide array of styles and expressions. You are not limited to just one look. For example, you could go for a truly "primitive jol man" style, which often features simpler, more rustic faces and a somewhat distressed appearance, reminiscent of very old folk art. These often have a very earthy, unrefined charm that is, you know, quite appealing.
On the other hand, you could create "scary paper mache pumpkins to frighten the little ones," perhaps with exaggerated features, jagged teeth, and deep, shadowed eyes. You could even add extra elements, like arms or pointy hats, to make them even more dramatic. There are also the more whimsical designs, like the "vintage pumpkin pinata retro handmade paper mache tissue" look, which might incorporate brighter colors and more playful shapes. Some people prefer a more refined, "German vintage style," which often involves intricate details and a very clean, yet aged, finish. The choice of colors, the style of the face, and the overall finish can completely change the character of your pumpkin, allowing you to create a whole collection of unique paper mache vintage pumpkins, each with its own personality. It is, in a way, an open invitation to be truly creative.
This exploration into making paper mache vintage pumpkins has covered the appeal of old-fashioned decorations, the reasons for crafting your own, and the necessary materials to begin. We have also walked through the step-by-step process of creating these charming pieces, from shaping your base to applying the paper mache layers and allowing for proper drying. Furthermore, we discussed how to add those special vintage touches through painting and distressing techniques. Finally, we looked at the various ways you can use your finished pumpkins for display and celebration, as well as tips for their care to ensure they last. We also touched upon the many different styles you might consider for your own creations.
- When Is Season 3 Of The Old Man
- Total Wine More Vancouver Wa
- Ashley Mulheron
- Naijablow
- Romeos Hillside

How Paper Changed the World - PaperPapers Blog
Paper: Everything You Need to Know
Clipart Panda - Free Clipart Images
