How To Put Snaps On Material - A Simple Guide
Ever looked at a piece of clothing or a craft project and wished it had a simple, sturdy way to stay closed? You know, something beyond buttons or zippers? Well, there is a fantastic little helper for that very thing, and it comes in many shapes and sizes. These little closure bits, often found on baby clothes, jackets, or even home decorations, offer a quick and neat way to join two pieces of textile together, creating a secure connection that you can open and close many, many times. They add a touch of practicality and a neat finish to so many different items, making them a favorite for crafters and anyone looking to fix up their favorite things.
Getting these handy fasteners onto your chosen textile might seem a bit tricky at first glance, a bit like a secret handshake between the fabric and the tiny metal or plastic pieces. But honestly, it is a skill that anyone can pick up with just a little patience and the right approach. Whether you are thinking about making a new bag, fixing a jacket, or adding some flair to a cushion cover, understanding how these closures work and how to set them firmly in place will really open up a world of possibilities for your projects. You might find yourself adding them to everything!
This guide is here to walk you through the whole process, step by step, making it as straightforward as possible. We will look at what these fasteners actually are, what bits and pieces you will need to gather for the job, and then how to get them onto your chosen cloth without any fuss. We will also touch on how to sort out any little hiccups that might pop up and give you some ideas for all the cool ways you can use them. So, you know, let's get ready to make some connections!
- Amityville Crime Photos
- Avi Rachlin Detroit Michigan
- Alicia Keys And Brother
- Nike Humara Undefeated
- Stickitech
Table of Contents
- What Are Snaps, Anyway?
- Gathering Your Tools for Putting Snaps
- Getting Ready to Put Snaps on Fabric
- How Do You Actually Put Snaps on Material?
- Troubleshooting Common Issues When Putting Snaps
- Are There Different Ways to Put Snaps?
- Caring for Your Material with Snaps
- Creative Ideas for Material with Snaps
What Are Snaps, Anyway?
So, what exactly are these things we call snaps? Basically, they are a type of fastener that lets you connect two pieces of fabric or other flexible surfaces with a satisfying "click" or "pop." They are made up of two main halves that fit together, one side having a little stud and the other a socket that grips onto that stud. This simple design means they are pretty reliable for keeping things shut, yet also simple to open when you need to. You see them everywhere, from the cuffs of shirts to the flaps of bags, and even on heavy-duty outdoor gear. They are quite versatile, actually.
There are a few different sorts of these fasteners you might come across, each with its own way of getting attached. You have the sew-on kind, which are just what they sound like – you stitch them onto your textile by hand or machine. Then there are the no-sew varieties, which often involve a bit of pressure or a gentle tap with a hammer to secure little prongs through the fabric. These are usually metal or plastic and come in different sizes, from tiny ones for delicate items to much larger ones for things that need a stronger hold. Knowing which type you have is the first step in figuring out the best way to put snaps on material.
The choice of fastener type often depends on the material you are working with and how much use the closure will get. For instance, if you are working with a very fine silk, you might opt for a smaller, sew-on style that won't put too much stress on the delicate threads. For something like a canvas bag, a sturdy metal pronged type would probably be a better fit, offering a more lasting hold. Each kind has its own little quirks and benefits, and understanding these can help you pick the perfect fastener for your specific project, making the whole process of adding them much smoother, you know.
Gathering Your Tools for Putting Snaps
Before you even think about putting snaps on material, you will want to make sure you have all your bits and pieces ready to go. Think of it like preparing for a cooking project; you would not start without your ingredients and utensils, would you? Having everything laid out and within reach saves a lot of time and frustration. The specific tools you will need can vary a little depending on the kind of fastener you are using, but there are some common helpers that nearly always come in handy. It is just good practice, really, to get organized first.
For most no-sew fasteners, a special tool often comes into play. This could be a pair of snap pliers, which look a bit like regular pliers but have special dies that press the fastener parts together. Or, for heavier-duty ones, you might use a snap setting tool, which is typically a metal rod that you tap with a hammer. These tools are pretty important for getting a good, firm attachment. Without them, it is almost impossible to get the parts to connect properly and stay put. You also might need an awl, which is a pointy tool for making small holes in your fabric, or a fabric marker to show you exactly where each part of the fastener needs to go. A ruler or measuring tape is also pretty useful for getting things lined up correctly. Sometimes, a bit of scrap fabric for testing is also a good idea.
- **Snap Pliers or Setting Tool:** This is the main piece of equipment for no-sew fasteners, designed to apply the right pressure.
- **Awl or Hole Punch:** Needed to create neat, small openings in your textile where the fastener prongs will go.
- **Fabric Marker or Chalk:** Helps you mark the exact spots for your fasteners, ensuring they are placed evenly.
- **Ruler or Measuring Tape:** For precise spacing and alignment of your fasteners.
- **Small Hammer (for setting tools):** If you are using a setting tool, you will need something to tap it with.
- **Scissors:** Handy for trimming any loose threads or preparing your material.
- **Scrap Fabric:** Always good to have a spare piece to practice on before working on your main project.
Getting Ready to Put Snaps on Fabric
Once you have all your tools gathered, the next step before you actually put snaps on material is to get your fabric ready. This part is pretty important because good preparation can really make the difference between a neat, lasting attachment and one that might come undone or look a bit off. Think of it as laying the groundwork; a solid foundation means a better outcome. So, you know, take your time with this bit, it pays off later.
First, consider the fabric itself. Is it thick or thin? Is it stretchy or firm? These characteristics will influence how you prepare it. For thinner or stretchy fabrics, you might want to add a small piece of interfacing or a fabric stabilizer to the back of the area where the fastener will go. This gives the fastener more material to grip onto, preventing it from pulling through or tearing the fabric over time. It is a bit like giving your fabric a little extra muscle. You just iron on a small square of stabilizer to the wrong side of your textile where the fastener will be placed. This step is often overlooked, but it can make a huge difference in how well your fasteners hold up, especially with items that get a lot of use, like children's clothes, for example.
Next comes the marking. This is where your fabric marker and ruler come in handy. You need to decide exactly where each half of the fastener will sit. Measure carefully to ensure they are perfectly aligned when the two pieces of material come together. A common way to do this is to mark the spot for the first half of the fastener, attach it, and then press that half onto the second piece of fabric to leave a faint impression of where the matching half should go. This technique, you know, helps ensure perfect alignment. Using a small dot for each prong or the center point of the fastener is usually enough. Remember, once these fasteners are on, they are pretty tough to remove without leaving a mark, so getting your placement right from the start is quite key.
How Do You Actually Put Snaps on Material?
Alright, now for the main event: actually attaching those fasteners. This is where all your preparation comes together. The process for how to put snaps on material can vary a little depending on whether you are using sew-on or no-sew fasteners, but the general idea is always about getting the two parts of the fastener to connect securely through your fabric. We will focus mostly on the no-sew types here, as they are often the ones people find a bit more puzzling, you know.
For the no-sew variety, which often have little prongs or a cap and stud system, you will usually work with four pieces for each complete fastener: a cap, a socket, a stud, and a post. The cap and socket form one half (the female side), and the cap and stud form the other (the male side). It sounds a bit involved, but it is pretty straightforward once you get the hang of it. You will generally start by making a small hole in your marked spot on the fabric using your awl or hole punch. This hole needs to be just big enough for the prongs or the post to pass through without tearing the surrounding fabric. Too big, and the fastener might be loose; too small, and it might be hard to push through. It is a bit of a delicate balance, actually.
Here is a common way to put on a metal pronged fastener, like the kind you might use on a jacket or a bag:
- **Prepare the First Side (Female Part):** Take one of your fabric pieces and find the marked spot. Push the pronged cap through the right side of the fabric from front to back. On the wrong side of the fabric, place the socket piece over the prongs of the cap. The prongs should poke through the holes in the socket.
- **Secure the First Side:** Place the fabric with the cap and socket assembly into your snap pliers or onto your setting tool. If using pliers, make sure the cap sits in the correct die on one side and the socket on the other. If using a setting tool, place the cap face down on the base, position the fabric and socket on top, and then use the setting rod and hammer to gently tap the prongs outwards, securing the socket. You want a firm, even pressure to make sure the prongs curl over and hold the socket tightly. Do not hit it too hard, or you might damage the fastener or the fabric. Just a few gentle taps usually does the trick, you know.
- **Prepare the Second Side (Male Part):** Now, take your second piece of fabric. To ensure perfect alignment, connect the first half of the fastener you just put on to the second piece of fabric where you want the male part to go. Press firmly to leave a slight impression or mark the spot directly. This helps you get the exact position. Then, make a hole at this marked spot. Push the pronged cap through the right side of the fabric from front to back, just like before. On the wrong side, place the stud piece over the prongs of this cap.
- **Secure the Second Side:** Again, use your snap pliers or setting tool to secure this second half of the fastener. The process is the same as for the first side, just with the stud instead of the socket. Make sure the prongs curl over the stud evenly, creating a strong bond. Once both halves are attached, give them a test by snapping them together. They should connect with a satisfying click and hold firmly. If they feel a bit loose, you might be able to give them another gentle squeeze with the pliers or a tap with the hammer, but be careful not to overdo it, as that could damage them. It is a bit of an art, really, to get it just right.
Troubleshooting Common Issues When Putting Snaps
Even with the best intentions and careful steps, sometimes little things can go wrong when you put snaps on material. It is totally normal, so do not get discouraged if your first attempt is not absolutely perfect. Knowing what to look out for and how to fix common snags can save you a lot of headache. A lot of these issues, you know, come down to small adjustments in technique or tool use. It is pretty common for people to run into these things.
One frequent problem is the fastener not holding properly or feeling too loose. This often happens if the prongs are not fully curled over, or if the hole you made in the fabric was a little too big. If the prongs are not fully engaged, try giving them another gentle squeeze with your pliers or another light tap with your setting tool. Just be careful not to crush the fastener. If the hole is too big, the fastener might just pull right through. In that case, you might need to remove it (which can be tricky and might leave a small mark) and try again on a slightly different spot, perhaps adding a stronger piece of interfacing to give the fastener more to grip onto. Sometimes, too, the material itself is just too flimsy for the type of fastener you are using, so considering a sew-on option or a different kind of reinforcement might be a good idea.
Another issue can be misalignment, where the two halves of the fastener do not quite line up when you try to close them. This usually comes from not marking your spots precisely enough. If the misalignment is slight, you might still be able to force them together, but it will put stress on the fabric and the fastener itself, leading to premature wear. If it is really off, you might have to remove one or both halves and try again, being extra careful with your measurements and marking. Using the "press to mark" technique we talked about earlier can really help prevent this. Also, sometimes the fastener itself might be faulty, or the setting tool might not be quite right for the specific fastener you are using. Always make sure your tools match your fastener type, you know, it makes a big difference.
Are There Different Ways to Put Snaps?
Yes, absolutely! While we have mainly focused on the common no-sew pronged fasteners, there are indeed several different ways to put snaps on material, each suited for particular materials or uses. The "put" here refers to the method of attachment, and these methods can change quite a bit depending on the fastener's design. It is pretty cool how many options there are, actually. Knowing these different ways can really broaden your crafting horizons.
For instance, some fasteners, particularly those made of plastic, use a different kind of setting tool. These often come with a special press that applies pressure to secure the fastener. They are quite popular for baby clothes and lighter fabrics because they are gentle and come in a rainbow of colors. Then there are heavy-duty fasteners, often found on things like boat covers or canvas tents. These usually require a dedicated professional-grade press or a very robust setting tool and a strong hammer, as they need a significant amount of force to penetrate thick materials and secure the parts. They are built for serious use, you know.
And let's not forget the classic sew-on fasteners. These are typically flat discs, often metal or plastic, with holes around the edge. To put these on, you simply stitch them to your fabric using a needle and thread. One half has a raised center, and the other has a depression that fits over it. These are great for delicate fabrics where you do not want to pierce the material with prongs, or for situations where you need a very discreet closure. They take a bit more time than the no-sew types, but they offer a very neat and often invisible finish. They are a bit more traditional, in a way, but still very effective.
Caring for Your Material with Snaps
Once you have successfully managed to put snaps on material, you will want to make sure they last. Proper care of your finished item, especially when it comes to washing and drying, can significantly extend the life of your fasteners and the material they are attached to. It is not just about the fabric; the fasteners need a little consideration too, you know. Just a few simple habits can make a big difference.
When washing items with fasteners, it is generally a good idea to close them before putting them in the washing machine. This helps prevent the fasteners from snagging on other items in the wash, or from getting bent or damaged themselves. For metal fasteners, especially, closing them can also help reduce the chances of them scratching or rubbing against other garments, which could potentially cause wear. Using a laundry bag for delicate items or those with many fasteners can add an extra layer of protection. This is particularly true for items that might get tossed around a lot in the machine. A gentle cycle and cooler water temperatures are also usually kinder to both the fabric and the fasteners, helping them maintain their integrity over time, in some respects.
As for drying, air drying is almost always the best option for items with metal fasteners. High heat from a dryer can sometimes cause metal to expand and contract, potentially weakening the fastener's grip on the fabric. It can also, over time, lead to rust on some types of metal fasteners, especially if they are not rust-proof. If you must use a dryer, a low heat setting is generally preferred, and removing the item while it is still slightly damp can help. For plastic fasteners, high heat can sometimes cause them to warp or become brittle, so again, air drying or very low heat is the way to go. Taking these few extra steps really helps to preserve your hard work and keep your fasteners looking good and working well for a long time, you know.
Creative Ideas for Material with Snaps
Now that you have a good handle on how to put snaps on material, the fun part begins: thinking about all the cool things you can make or fix! These little fasteners are incredibly versatile and can be used in so many different ways, far beyond just basic clothing closures. They offer a neat, functional, and often stylish way to add a bit of convenience to your textile projects. It is pretty exciting to think about the possibilities, honestly.
For clothing, beyond the obvious shirts and jackets, consider adding fasteners to detachable hoods, cuffs, or even decorative elements that you want to be able to remove for washing or to change up a look. They are also fantastic for children's clothing, making it easier to dress and undress little ones, especially for things like rompers or sleepwear. For home decor, imagine cushion covers with hidden fasteners for easy removal and washing, or curtains that can be quickly fastened back with a decorative tab. You could even use them to create modular wall hangings, where different panels can be swapped out easily, which is a pretty neat idea.
In the world of crafts and accessories, the possibilities are virtually endless. Think about making pouches or small bags with a secure closure, or creating a wallet with multiple compartments that stay neatly shut. Fasteners are also perfect for fabric organizers, keeping tools or craft supplies contained. You could even use them for reversible items, like a two-sided placemat or a reversible tote bag, where the fastener works no matter which side is showing. They are also great for repairing things, like a torn pocket flap or a broken button closure on a favorite garment. Basically, if you need two pieces of
- Simplydiy
- Milk Burger Nyc
- Kathy Lee Gifford Pictures
- Hong Kong International Airport Photos
- Calvary Taos

LONG PRONG Mixed Bag: 100 KAM® Snaps/Plastic Snaps Sets (Size 20)
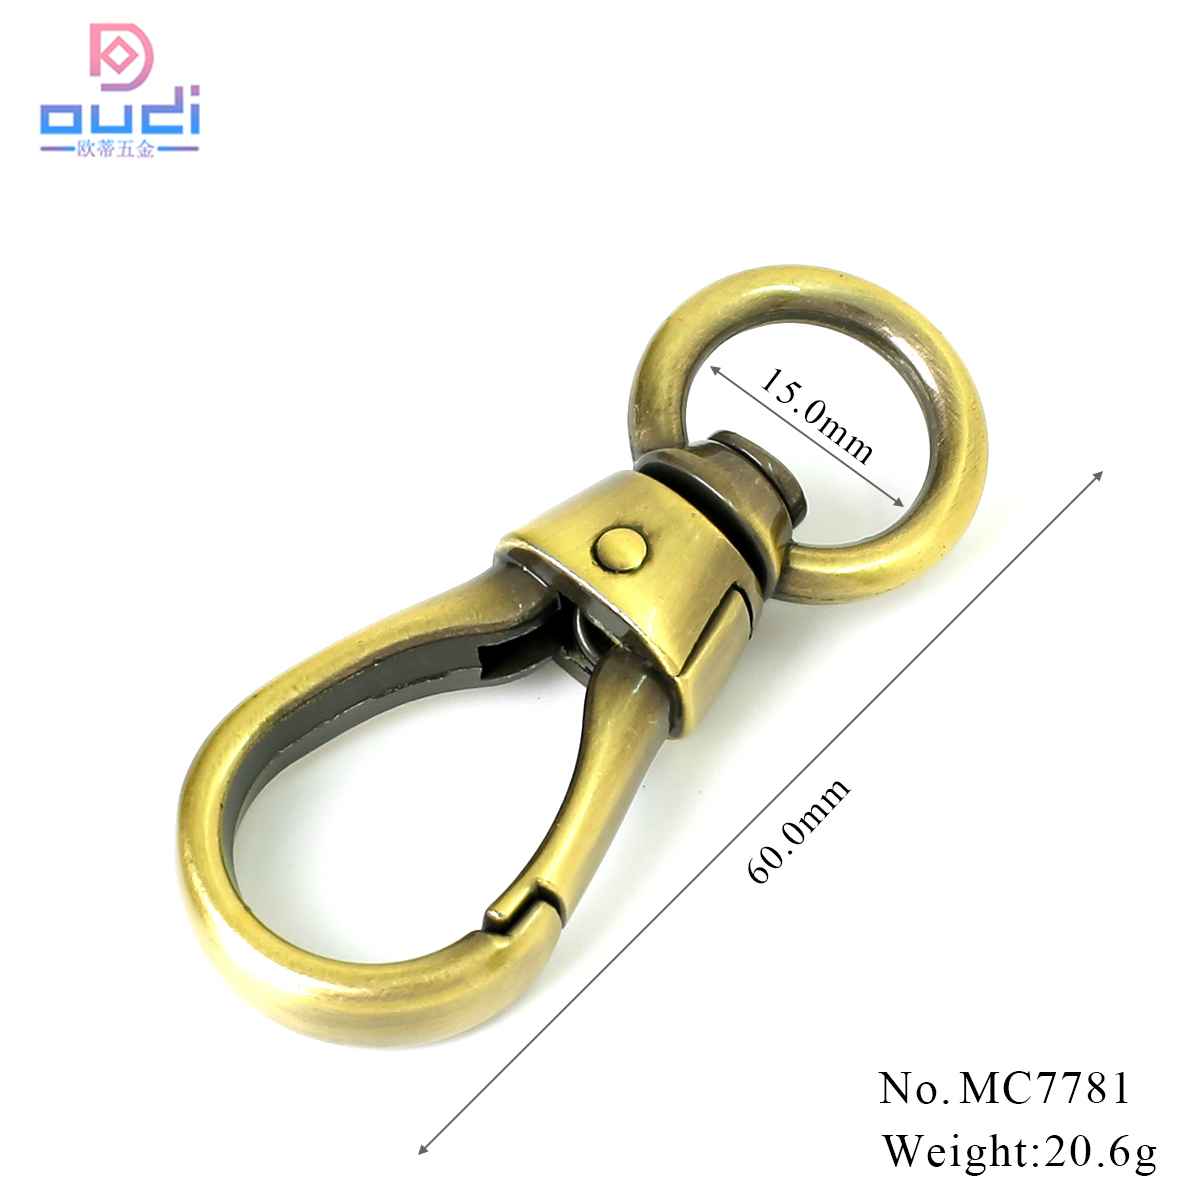
Different Types Of Snaps- Material(5/5) - Oudi Hardware
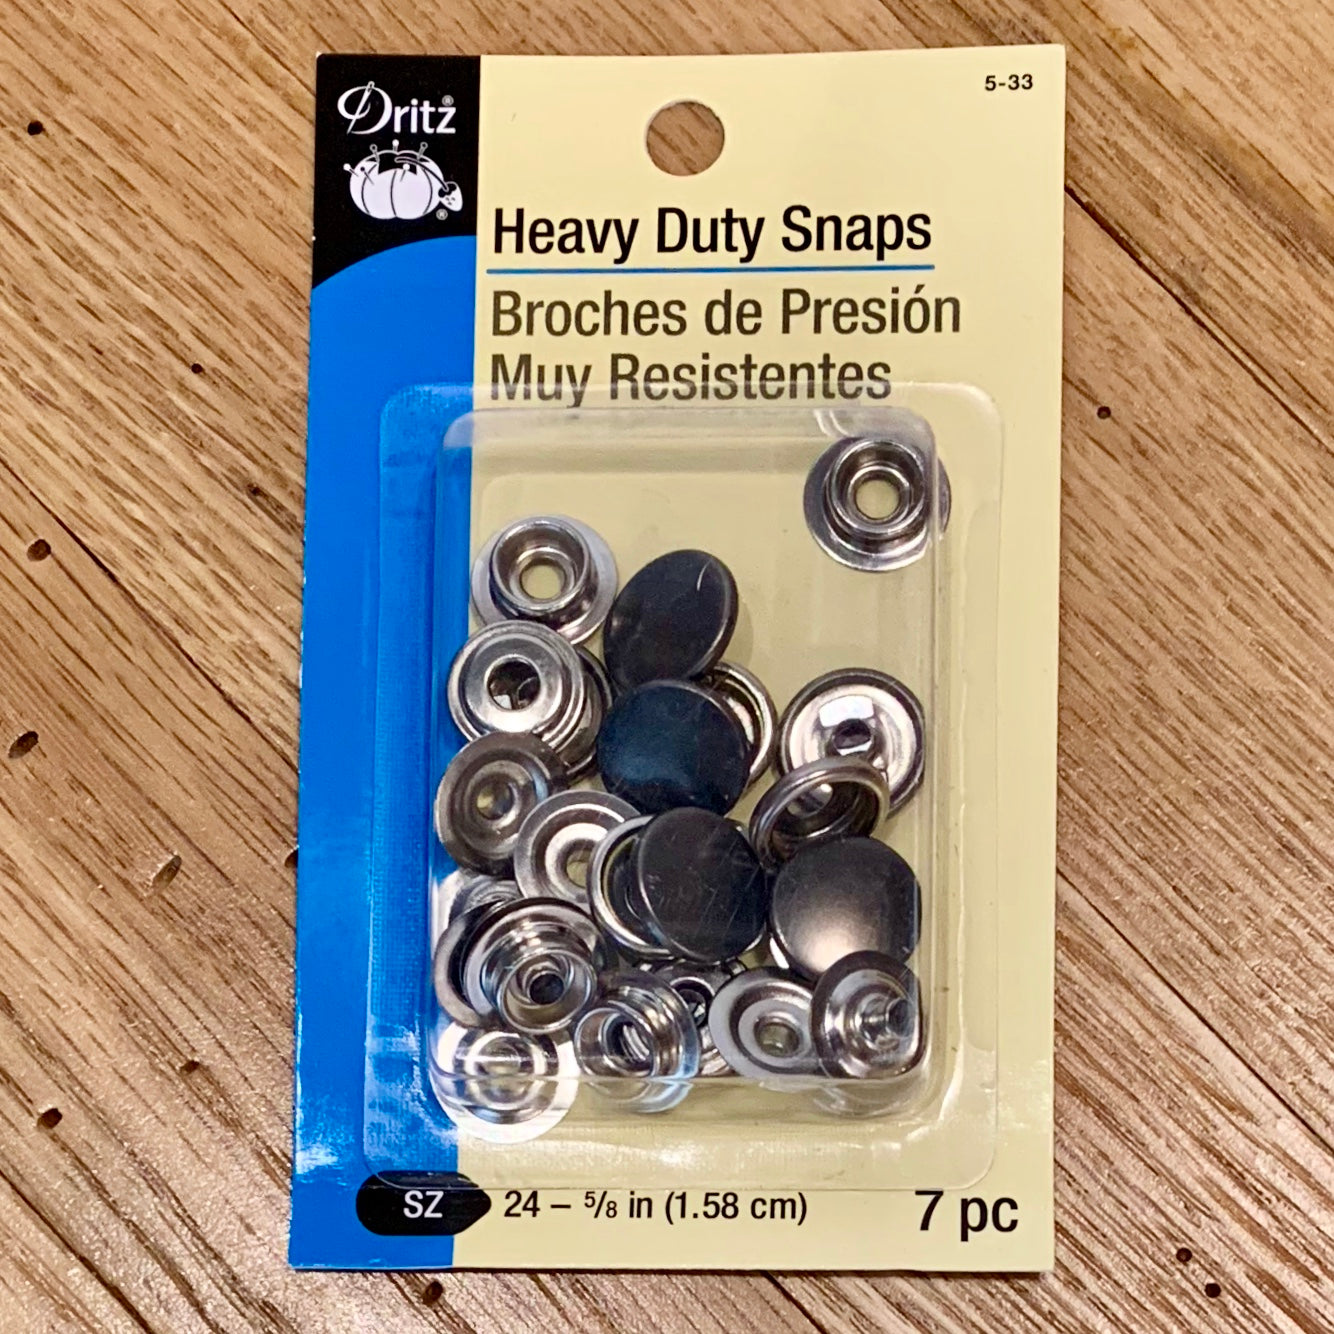
Heavy Duty Snaps – EWE fine fiber goods
