Drywall Small Hole Repair - A Simple Guide
Ever notice those little pokes or dings on your walls? You know, the ones that just seem to appear out of nowhere, perhaps from a picture hook or a bumped piece of furniture? Those tiny spots can really make a room feel a bit less cared for, drawing your eye away from the nice things you have around. It's a common sight in many homes, and it can be a little frustrating to see.
But here is the thing, those small wall blemishes are not a big deal to fix. You do not need to call in a big crew or spend a lot of cash. Fixing these little spots on your walls is something you can absolutely do on your own, and it takes less time than you might think, really.
This little guide will walk you through how to make those walls look smooth and fresh again. We will talk about what your walls are made of, what items you will need, and how to put it all together so those small holes just disappear, just like magic in a way.
Table of Contents
- What exactly is drywall, anyway?
- Getting Ready for Drywall Small Hole Repair
- What stuff do you need for drywall small hole repair?
- Fixing Up Drywall Small Hole Repair
- How do you make your drywall small hole repair disappear?
- Making the Finish Just Right After Drywall Small Hole Repair
- Can anyone really do drywall small hole repair?
- Keeping Your Drywall Looking Good After Drywall Small Hole Repair
What exactly is drywall, anyway?
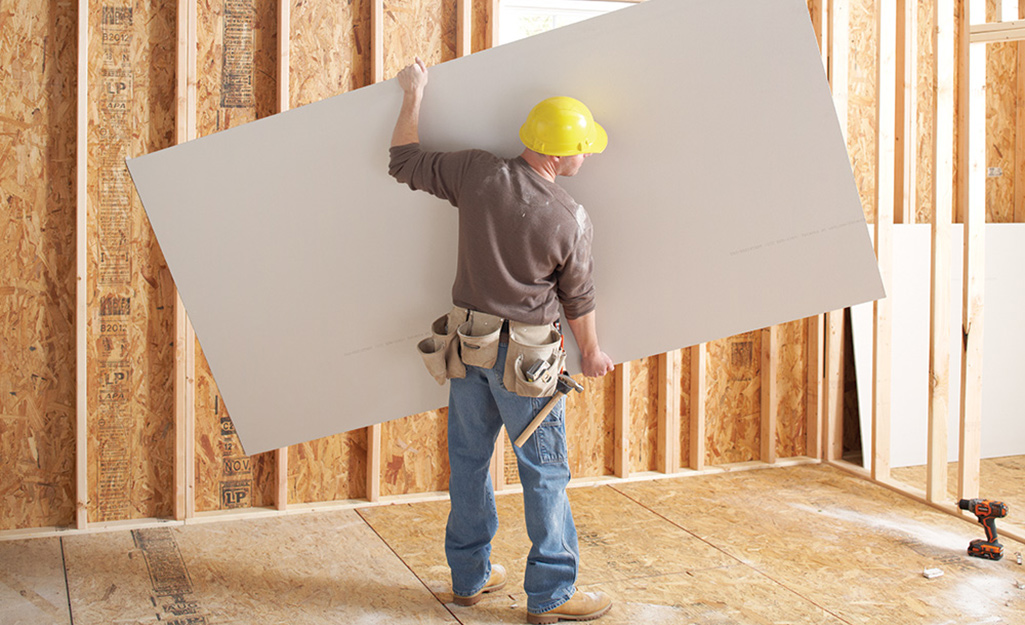
So, you might hear people talk about drywall, plasterboard, or gypsum board, and they are all pretty much talking about the same thing. It is that flat material that forms the inside surfaces of many homes, like your walls and your ceilings. Basically, it is a panel, a kind of flat sheet, made from a soft, chalky mineral called gypsum plaster. This gypsum stuff is pressed between two layers of thick paper, making a sturdy, yet somewhat easy-to-work-with, building material. It gets attached to the wooden or metal frames inside your walls using nails or screws, typically.
This material, you know, it is used for a good reason. It helps keep sounds from traveling too much from room to room, which is nice for quiet. It also gives the house some solidness and helps slow down fire if there is one, which is a very good thing. It is also quite simple to put decorations on, like paint or wallpaper. It gives you a nice, flat surface to start with for all sorts of wall looks. There are different kinds, too, some are just plain white, and some are made to block sound even better, which is pretty neat.
Getting Ready for Drywall Small Hole Repair
Before you even think about putting anything on your wall, you should probably get the area ready. This means taking a quick look at the small hole you want to fix. Is it truly small, like from a nail or a screw? Or is it a bit bigger, perhaps from something hitting the wall harder? For very small holes, the process is pretty simple, as a matter of fact. You might just need a tiny bit of material. For anything bigger than a pencil eraser, you might need a small patch, which we will talk about a little later. You just want to make sure the area around the hole is clean and smooth, no loose bits hanging off.
- Anyalacey Onlyfans
- Zoe Manville
- When Is Season 3 Of The Old Man
- Partner Hannah John Kamen
- Yasuri Yamileth
Sometimes, if the paper around the hole is torn or sticking out, you might want to gently trim it back with a small, sharp cutting tool. You are just trying to make the hole neat, so it is easier to fill. You want to have a nice, even surface for the new material to stick to, you know. This little bit of prep work makes a big difference in how your drywall small hole repair looks in the end. It is like getting your canvas ready before you start painting, so to speak.
What stuff do you need for drywall small hole repair?
To fix those little wall pokes, you do not need a whole workshop full of gear, which is good. For tiny holes, you will want some spackling compound. This is a creamy, white material that comes in a tub or a tube. It is made for filling small gaps and cracks. You will also need a putty knife or a spreading tool. This is a flat, thin piece of metal or plastic with a handle, used for spreading the spackling smoothly. Sometimes, people use a small piece of old credit card or something similar if they do not have a proper knife, which works pretty well, too.
You will also want some fine-grit sandpaper. This is paper with tiny rough bits on it, used for smoothing surfaces. A small block of wood or a sanding sponge can help you hold the sandpaper flat. And, of course, you will need a damp cloth to wipe away dust. If the hole is a bit larger, say bigger than a quarter, you might also need a small drywall patch. These are sticky patches with a metal screen or fiberglass mesh in the middle, made to give the spackling something to hold onto over a bigger opening. They are actually quite handy for those slightly more noticeable dings.
For painting, you will need a small paintbrush or a roller, and a little bit of paint that matches your wall color. It is always a good idea to keep a small amount of your wall paint stored away for these kinds of touch-ups. Having all these items ready before you start makes the whole drywall small hole repair process go much more smoothly, you see. You will not have to stop in the middle to go looking for something, which is a definite plus.
Fixing Up Drywall Small Hole Repair
Okay, so you have got your hole all prepped, and your items are laid out. Now it is time to put the spackling on. Take a small amount of the spackling compound onto your putty knife. You do not need a huge glob, just enough to cover the hole. Then, gently press the spackling into the small hole. You want to make sure it fills the hole completely, so there are no air pockets left inside, you know. Push it in there firmly but not so hard that you make the hole bigger, which could be a problem.
Once the hole is filled, use your putty knife to scrape away any extra spackling from the wall surface. You want to make it as flat and even with the rest of the wall as you possibly can. Hold the knife at a slight angle, almost flat against the wall, and pull it across the filled hole. This helps to smooth out the spackling and blend it into the surrounding wall. You might need to do this a couple of times to get it really smooth. The goal here is to make the patch almost invisible before it even dries, so it is a good idea to take your time with this part of the drywall small hole repair.
How do you make your drywall small hole repair disappear?
After you have applied the spackling and smoothed it out, the next important step is letting it dry. This is not a step you want to rush, honestly. The drying time can vary depending on how thick the spackling is and how humid your room is. It could take an hour or two, or sometimes even a little longer. The spackling will usually change color, becoming a brighter white when it is fully dry. You can also gently touch it to see if it feels firm and not sticky at all. If it feels cool or damp, it is still drying, so just wait a little longer, okay?
Once it is completely dry, you will likely notice that the spackling is not perfectly flat with the wall. It might have a tiny bump or a slight ridge. This is where the sandpaper comes in. Take your fine-grit sandpaper and gently rub it over the dried spackling. You are trying to make the patched area perfectly even with the rest of the wall. Use light, circular motions, and do not press too hard, because you do not want to create a dip or scratch the surrounding wall, which would be a bit of a setback. Feel the surface with your hand as you go; your fingers are pretty good at feeling small differences in height.
After sanding, there will be some white dust on the wall. Take your damp cloth and gently wipe away all the dust. You want a clean surface for the paint. If you leave dust, the paint might not stick as well, or it might look bumpy. This step is pretty quick, but it makes a big difference in the final look of your drywall small hole repair. You are basically preparing the surface for its final disguise, making it ready to blend in completely.
Making the Finish Just Right After Drywall Small Hole Repair
Now that your patched area is smooth and clean, it is time for the paint. This is where the small hole truly disappears. Before you open your paint can, give it a good stir. Paint can separate over time, and you want to make sure the color is even. Then, dip your small paintbrush or roller into the paint. Do not load it up too much; a little goes a long way, especially for small touch-ups. You just want enough to cover the patched spot without dripping, you know.
Carefully apply a thin coat of paint over the sanded spackling. Try to stay within the area you patched, but if you go a little outside, it is not the end of the world. The goal is to blend the new paint with the old paint on your wall. Sometimes, one coat is enough, especially if your wall color is light. But often, you might need a second coat to get a perfect match. If you do need another coat, let the first one dry completely before you apply the second one. This usually takes an hour or two, depending on the paint type and how thick you put it on, in some respects.
When the paint is dry, step back and take a look. You should barely be able to see where the hole once was. The color should blend, and the texture should feel smooth. If it looks a little off, you might need to apply another thin coat of paint, or perhaps feather out the edges of your painted area a bit more. The whole idea is to make that little spot on your wall look like it was never there at all, making your drywall small hole repair a true success.
Can anyone really do drywall small hole repair?
You might be wondering if this kind of repair is something for everyone, or if it takes some special knack. The good news is, fixing small holes in drywall is genuinely something almost anyone can do. You do not need years of experience or a special license. It is more about taking your time and following the steps. Think of it like a simple craft project, rather than a big construction job. The tools are easy to use, and the materials are forgiving, which is a nice touch.
The main things you need are a little patience and a willingness to try. You might not get it absolutely perfect on your first go, and that is totally fine. Each time you do it, you will get a little better, and your walls will look a little nicer. It is a very satisfying feeling to look at a wall that used to have a noticeable blemish and now looks perfectly smooth, as a matter of fact. So, yes, if you have a small hole in your wall, you can absolutely tackle this job yourself. It is a practical skill that comes in handy quite often, you know.
Keeping Your Drywall Looking Good After Drywall Small Hole Repair
Once you have fixed your small hole, you might want to think about how to keep your walls looking good in the future. The best way to deal with small holes is to try to prevent them from happening in the first place. For instance, when hanging pictures, consider using lighter frames or special hooks that do less damage. If you are moving furniture around, be a little extra careful not to bump it into the walls. These little habits can save you from having to do drywall small hole repair again too soon, which is pretty convenient.
Also, it is a good idea to keep a small container of your wall paint stored away. Labels can fade, and paint colors can be tricky to match exactly if you have to buy new paint years later. Having a little bit of the original paint makes touch-ups, like those for your drywall small hole repair, much easier and more seamless. And if you do get another small ding, remember that you already know how to fix it. It is a simple process that keeps your living spaces looking their best, and that is a truly good thing.
So, we have gone through what drywall is, what items you need, and how to put it all together to fix those little spots. You now have the knowledge to make those small holes disappear, making your walls look neat and cared for again. It is a straightforward task that truly makes a difference in how your home feels.
Drywall
How To Drywall A Basement Ceiling | Storables
7 Types Of Drywall And Their Benefits To Your Home – Celebrity Homes
